Search data by drive time or distance
Radius search is a simple method of geographic targeting used widely but often greater accuracy is required to reach right customers. Drive time (distance) search is the solution. The search is based on a generated drive time (distance) polygon that aligns with road network and takes into consideration speed signs or historic traffic depending on the settings. Drive time (distance) search can answer the basic question of what customers reside within certain drive time or distance from a store or business location.
In MapBusinessOnline you can create drive time (distance) polygons and search business data as following:
- Start by plotting your customer data on the map. Read the following article on how to do that:
Plot data from Microsoft® Excel.
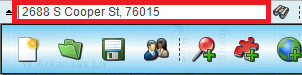
- If you have an address of your store location (center location), enter the address into the search box and click binocular icon. Map Business Online will show the location on the map. Use the zoom control to zoom into a map area you want to search. The following article describes basic map navigation controls in MapBusinessOnline: Zoom & pan map.
- At the found center location you will see the mini toolbar. Click polygon icon on the toolbar to create a drive time (distance) polygon.
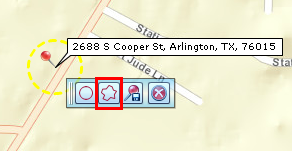
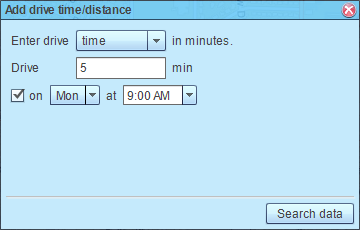
- In the dialog that will appear choose whether to define polygon by time or distance and enter desired time (distance) value. For drive time option you can also choose start time and day of week to tell MapBusinessOnline to use historic traffic data instead of speed signs in polygon creation. Click Add to map button when ready.

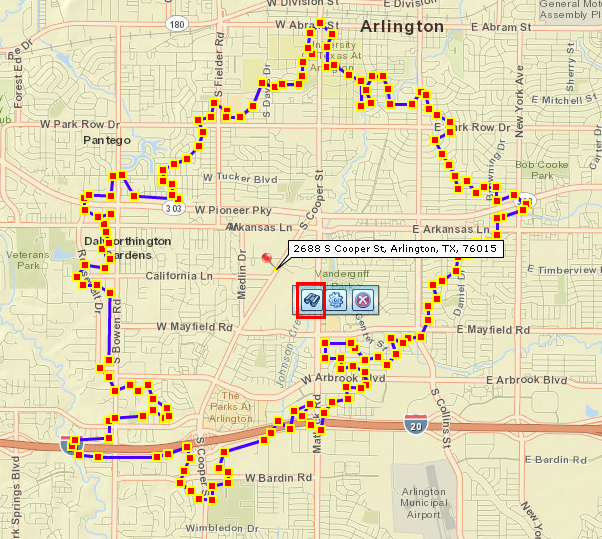
- MapBusinessOnline will create a drive time (distance) polygon and select it. You may need to zoom out a bit to see the polygon in full. To search within the polygon, click binocular icon on the polygon’s mini toolbar.
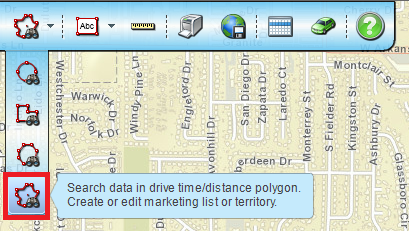
- As an alternative to address search you can select the Drive time (distance) search tool on the main toolbar and choose desired center location by clicking the map while the tool is active. Then enter drive time or distance settings as explained above and click Search data button.
- If you have more than one dataset or map layer on the map then the following dialog will popup. Select a dataset that you want to search and click Next button.

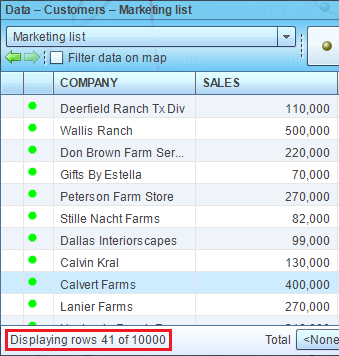
- If you are searching for the first time then just enter a name of a marketing list in the dialog provided and click Create button. New marketing list will be created and selected in the Data window. You can see the number of locations (rows) in the marketing list at the bottom of the window.
Note: in MapBusinessOnline we call a subset of location data a Marketing list.
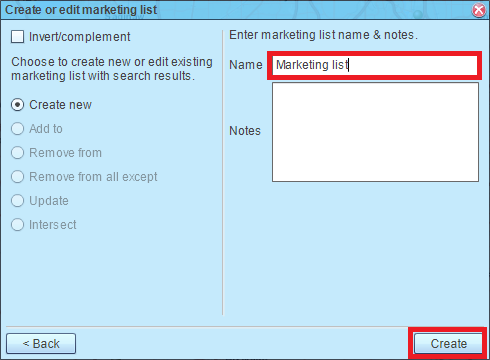
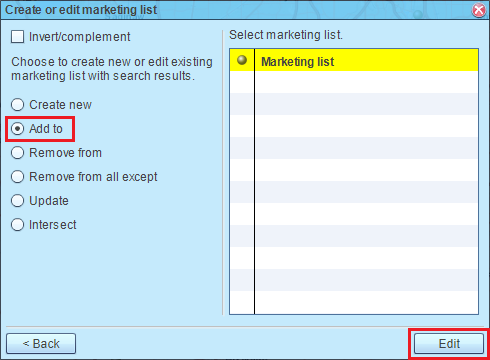
- If you already have other marketing lists then you will have more options: create new marketing list, add locations found to an existing marketing list, remove locations found from a marketing list, or update existing marketing list to contain just the search results. Select an option, a marketing list, and click Edit button.
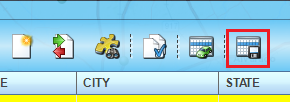
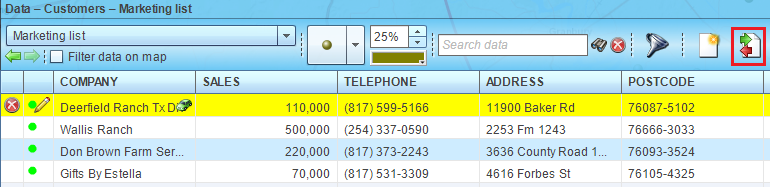
- In addition to spatial search you can edit a marketing list content right from the Data window. For example, if you want to remove a location just click it to select in the Data window or on the map. Then click the Data window toolbar icon as you can see on the picture below.
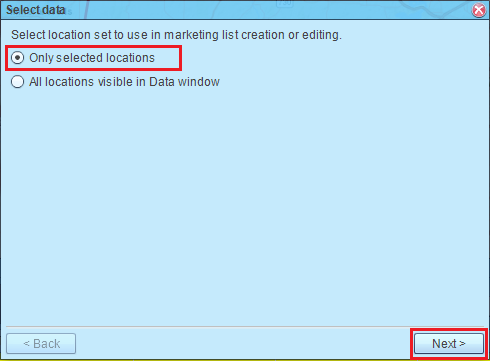
- In the wizard that will start select Only selected locations option and click Next button.
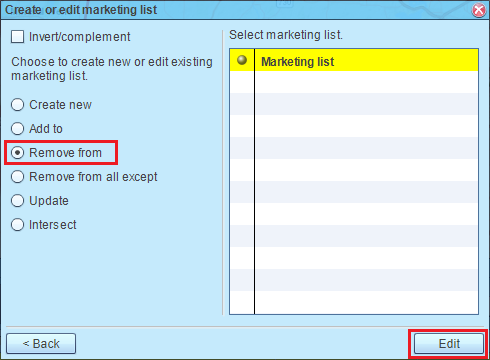
On the second page select Remove from option, a marketing list, and click Edit button. The marketing list will be updated with the location removed.
- The Data window has more functions than just removing a location. For example, you can filter data by custom criteria. Consult the link for more details: View data in tabular form. Once you have data filtered inside the Data window, you can add the content to new marketing list, an existing marketing list, remove it from a marketing list, or replace content of an existing marketing list. Just click the icon as displayed on the picture above and then choose All locations visible in Data window option.
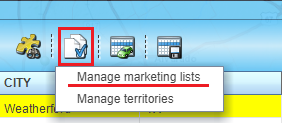
- If you decide to delete or rename a marketing list, use the icon on the Data window toolbar as you can see on the picture below. Then select Manage marketing lists option.
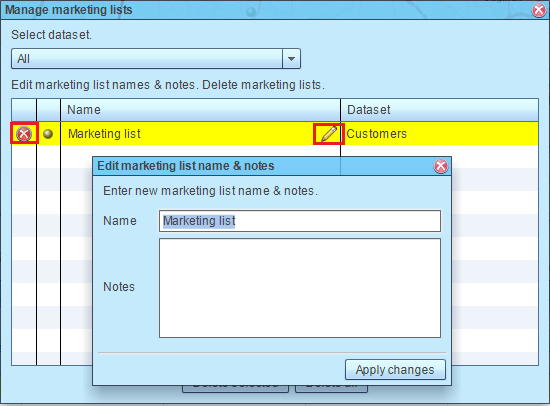
- Delete a marketing list by clicking red cross icon inside the Manage marketing lists dialog.
- Rename a marketing list with pencil icon.
- Finally, use export data icon on the Data window toolbar to export your marketing list to a file.